

Introduction
A lamp shade not only serves the purpose of diffusing light, but it also enhances the decor of a space. Wooden lamp shades have become increasingly popular due to their rustic charm and versatility. Creating your own wooden lamp shade is a great way to add a personal touch to your home or office. In this article, we will discuss how to create a DIY wooden lamp shade that is simple and affordable.
Materials Needed
– Wood veneer sheets
– Wood glue
– Clamps
– Scissors
– Clear tape
– Ruler
– Pencil
– Sharp utility knife
– Sandpaper
– Lampshade ring
Instructions
Step 1: Measure the Lampshade Ring
The first step is to measure the lampshade ring that you will be using. Measure the diameter and height of the lampshade ring, as these measurements will be used to determine the size of the wooden veneer sheets you require.
Step 2: Cut the Wooden Veneer Sheets
Using the measurements from step 1, cut several wooden veneer sheets to size using scissors or a sharp utility knife. Ensure that the sheets are cut 1-2 cm larger in height and diameter than the measurements taken in step 1.
Step 3: Apply Wood Glue to the Wooden Veneer Sheet
Apply some wood glue to the edge of one of the wooden veneer sheets. Take the next sheet and overlap it onto the glued edge. Repeat this process until all sheets have been glued together. You can use clamps to hold the sheets together while the glue dries.
Step 4: Create the Lampshade Frame
While waiting for the glue to dry, you can create the lampshade frame. Use a lampshade ring that fits the wooden veneer sheets you have cut out. Wrap clear tape around the ring to create a smooth surface for the wooden veneer sheets to adhere to.
Step 5: Wrap the Wooden Veneer Sheet Around the Frame
Once the wooden veneer sheets have been glued together and the lampshade ring is prepared, wrap the glued wooden veneer sheet around the ring. Ensure that the bottom edge of the wooden veneer sheet aligns with the bottom edge of the lampshade ring.
Step 6: Sand the Edges of the Lampshade
Use sandpaper to smoothen the edges of the wooden lampshade. Ensure that all edges are smooth and there are no rough spots.
Step 7: Attach the Lampshade to the Lamp Base
Once the wooden lampshade is fully assembled, attach it to the lamp base. Ensure that the lamp is turned off and unplugged before attaching the lampshade.
More Stories
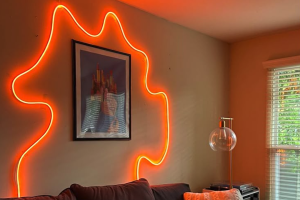
Creating a Vibey Apartment Aesthetic with Wavy Neon LED Strip Lights
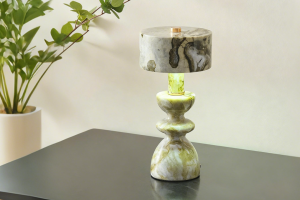
Organic Modern Jade Green Clay Bedside Lamp
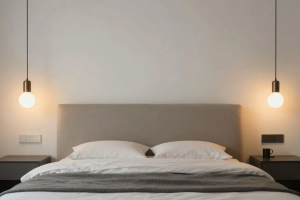
Small Bedroom Setup: Hanging Bedside Glass Pendant Light