
Introduction
Adding lighting to your home can completely transform the look and feel of your space. Swag light fixtures are a popular option for those looking to add character and charm to their room, but many people may be intimidated by the thought of installing one. In this guide, we’ll walk you through the step-by-step process of hanging a swag light fixture and provide some tips on how to style it in your space.
Materials Needed
Before you get started, you’ll need to gather the following materials:
- Swag light fixture
- Ceiling hook or anchor
- Chain or cord
- Wire cutters
- Pliers
- Screwdriver or drill
Step 1: Choose Your Location and Determine the Height
When choosing a location for your swag light fixture, consider the purpose of the room and the amount of natural light it receives. You’ll also want to determine the optimal height for your fixture. A general rule of thumb is to hang the fixture about 7 feet from the floor, but you may need to adjust this based on the size and style of your fixture.
Step 2: Install the Ceiling Hook or Anchor
Once you’ve determined the location and height for your fixture, it’s time to install the ceiling hook or anchor. If you have a ceiling fan, you can typically use the same electrical box for your swag light fixture. Otherwise, you’ll need to install an anchor or brace in the ceiling to support the weight of the fixture.
To do this, turn off the power to the room at the circuit breaker and remove the electrical box cover. Use a drill to install the anchor or brace according to the manufacturer’s instructions, making sure it’s securely attached to a ceiling joist.
Step 3: Attach the Chain or Cord to the Fixture
Next, you’ll need to attach the chain or cord to your swag light fixture. Depending on the style, you may need wire cutters to adjust the length of the chain or cord. Use pliers to open the links on the chain and attach them to the fixture, making sure everything is securely fastened.
Step 4: Thread the Chain or Cord Through the Ceiling Hook
Once the chain or cord is attached to the fixture, you can thread it through the ceiling hook or anchor. Make sure the hook is securely fastened to the ceiling before hanging the fixture.
Step 5: Connect the Wires and Test the Fixture
Finally, it’s time to connect the wires and test the fixture. Turn the power back on at the circuit breaker and use wire nuts to connect the wires from the fixture to the corresponding wires in the electrical box. Once everything is connected, turn on the switch to test the light and make any necessary adjustments.
Tips for Styling Your Swag Light Fixture
Now that your swag light fixture is installed, it’s time to style your space around it. Here are a few tips to get you started:
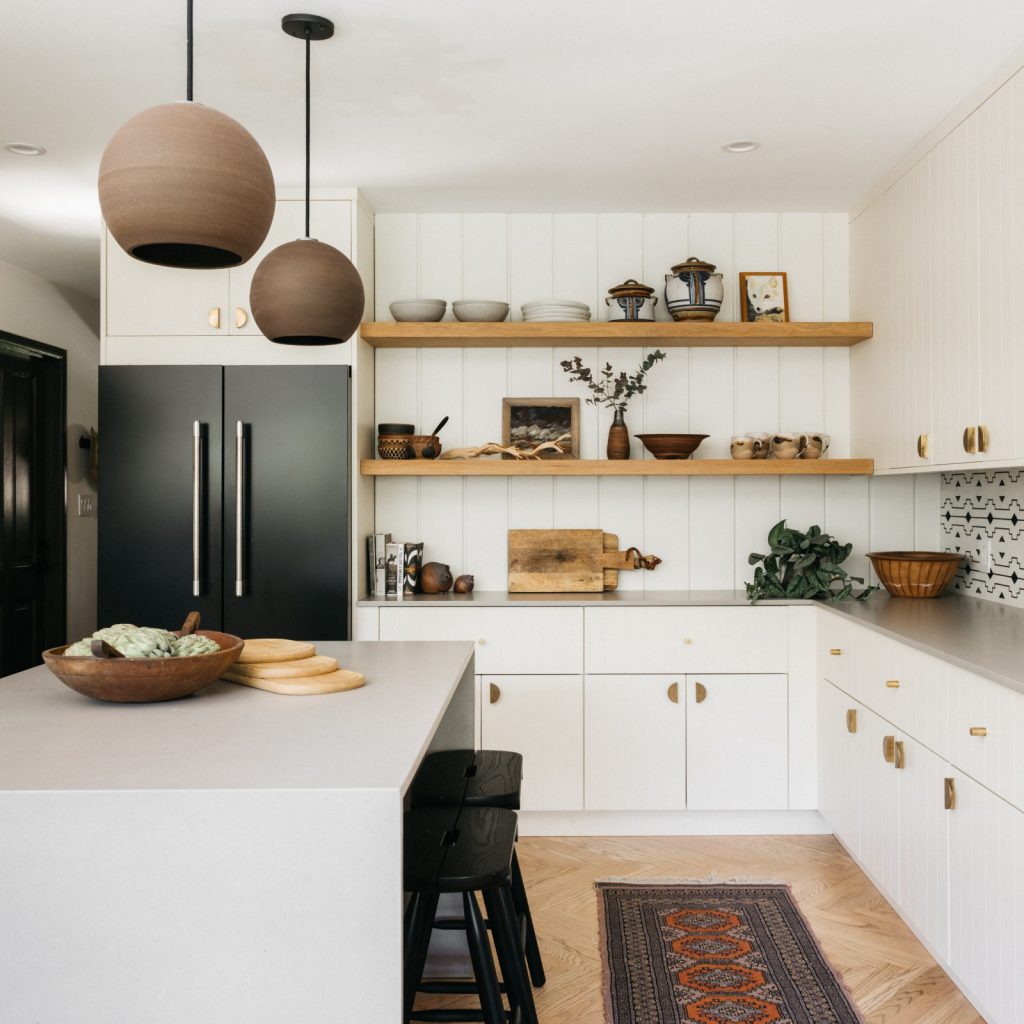
1. Use Multiple Fixtures in a Larger Room
If you have a larger room, consider using multiple swag light fixtures to create a cohesive look. This is a great way to add more light to a space while still maintaining the character and charm of the fixtures.
2. Choose the Right Bulb
The type of bulb you choose can have a big impact on the overall look and feel of your space. Consider the color temperature and wattage of the bulb to create the ideal ambiance for your room.
3. Add Dimmer Switches
Installing dimmer switches can be a great way to change the atmosphere of your room and create a more versatile lighting scheme.
4. Pair Your Fixture with Complementary Decor
Finally, don’t forget to pair your swag light fixture with complementary decor. This could include decorative pillows, a statement rug, or even a few plants to bring life to your space.
More Stories
Stylish Ribbed Glass Pumpkin Pendant Light: A Chic Addition to Any Space
Rustic Industrial Iron Wall Lamp: Perfect for Kitchen
27 Kitchen Lighting Ideas to Make Your Space Shine